

3D Home Architect and low cost CAD programs
What you can (and can’t) do with a low cost CAD program, plus an example studio house and the drawing lessons we kept from our old tutorial.
3D Home Architect version 3 is not sold any more. John wrote these notes while it was, and the tutorial was written for CountryPlans by Bob Heaney, a member of the forum. The five lessons further down are still here because people still land on them from a search, and what they show about roofs, stairs and dormers does not depend on the program.
Low cost CAD programs are great for floorplan layouts and getting a feel for the space you will be building. They will not have the structural information to let you design a full set of construction drawings.
These programs can do real work if you have a stock plan that has the structural information and you want to change the windows, doors and non-structural walls inside that structural shell. In some cases you can even change the outside dimensions without altering things too much.
With any modified design a local home designer, architect or engineer should review the drawings to make sure it meets local codes and is structurally sound. If you’ve made changes that require additional drawings or details, then this person can provide them for you. Often this person can make suggestions about local materials or building techniques that will work better or save you money over what is called out in the stock plan. There are considerable regional differences in how houses are built.
The older 3DHA ver. 3 program does the basics in a straightforward easy to learn way. It lets you quickly layout walls to form a building shape. Then you drop in doors, windows, furniture, and cabinets. Click a few more buttons and you put a simple roof over it. To see the space you’ve just designed, simply grab the eyeball icon and drag it in the direction you want to look. Let go and the program draws an interior (or exterior if you’re outside the walls) perspective. The program will frustrate those who want to design an elaborate house with a complex roof. It is best used to design simple buildings. For buildings like this it can give you a full 3D model.
For a more complex building you can use a home design program as a floorplanning tool to get a feel for the interior and how much space you need for furniture, cabinets, appliances, etc.
An example studio house
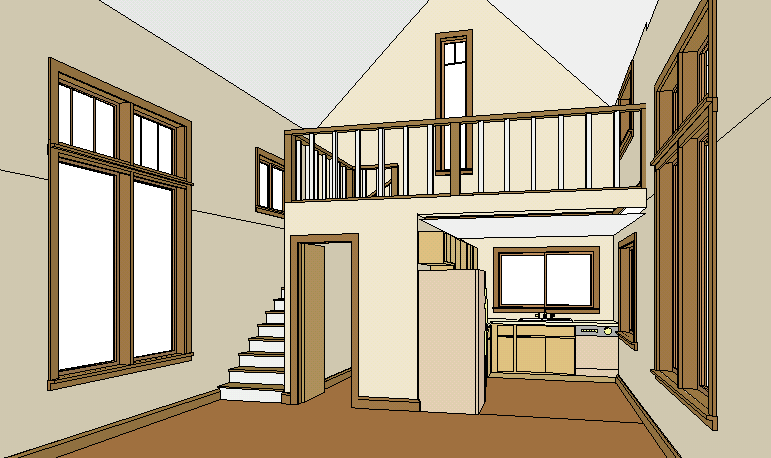
Below is a couple of screen shots of a studio house done in 3D Home Architect. The plan can be printed out to scale and used directly in the final drawings. This small house has an open bedroom loft over a small kitchen/bath area. The tall walls give the place an old school house feel.

The drawing lessons we kept
These five were written for 3D Home Architect version 3. The drawings still hold up. The steps that name buttons inside the program are the part that has aged.
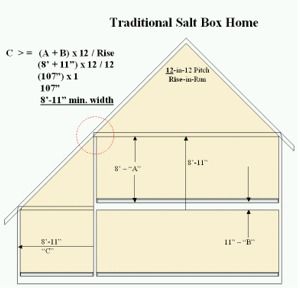
How a salt box roof works
Drawings of the salt box roof in cross section, with the pitch table and the minimum width of the lean-to side.

Stairs and how they work
The parts of a stairway drawn and named: treads, risers, riser height, landings, sections and rise angle.

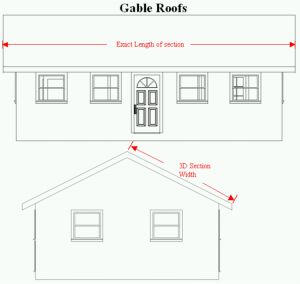
Slope, hip and gable
What roof pitch means, drawn in cross section, and what a hip roof section looks like next to a gable.
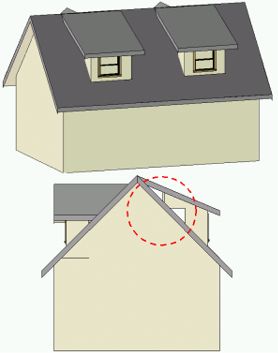
Adding dormers
Dormers drawn into an attic space, with the knee walls and the ceiling heights shown.
Building a physical model
Using cross sections to get the wall and roof shapes for a cardboard model of a design.
Where to go from here
Free articles on land, foundations, framing and permits are on the Resources page.
If you want to ask someone who has drawn one of these before, the discussion forum is free to read and free to join.